May 8th, 2025
When you invest in a Thermador range, you’re bringing professional-grade performance into your home kitchen. But to truly unlock the full potential of your Thermador cooking experience, pairing it with the right Thermador kitchen hood is essential. A range hood not only complements your kitchen’s aesthetics but also plays a crucial role in maintaining air quality and removing heat, smoke, and odors during cooking.
Why a Thermador Kitchen Hood is the Ideal Choice
Thermador kitchen hoods are engineered to match the power and precision of Thermador ranges. Whether you’re searing steaks on a high-powered burner or simmering sauces at a gentle heat, a Thermador hood is designed to handle the variable cooking needs of a gourmet kitchen. These hoods are known for:
- Powerful Ventilation: With high-CFM blowers, Thermador hoods quickly clear the air, helping prevent lingering cooking smells and grease buildup.
- Quiet Operation: Advanced sound insulation ensures your cooking experience is pleasant and uninterrupted by excessive noise.
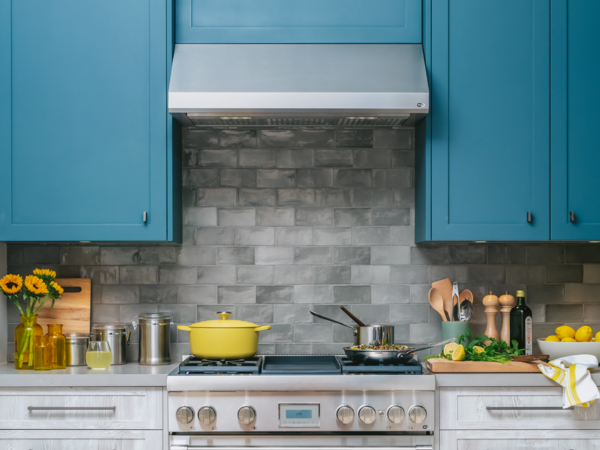
- Sleek, Modern Design: Available in a variety of sizes and styles—including under-cabinet, wall-mounted, and island configurations—Thermador hoods blend seamlessly with your kitchen design.
- Smart Features: Some models include WiFi connectivity, auto-sensing fan speeds, and customizable lighting to suit your kitchen’s needs.
The Thermador Kitchen Hood Installation Process
Installing a Thermador kitchen hood is a multi-step process that benefits from expert guidance and professional installation services. Here’s a general overview of what homeowners should expect:
1. Assessment of Your Space
The first step is evaluating your kitchen’s layout, the size of your Thermador range, and your ventilation needs. For example, a 36-inch Thermador Pro Grand Range often pairs well with a 36-inch Thermador Pro Grand wall hood, ensuring optimal coverage and airflow.
2. Choosing the Right Model
Thermador offers a variety of hood options, including under-cabinet hoods like the Thermador PH36GWS and wall-mounted or island hoods. Your Appliance Gallery Dayton expert will help you select a model that fits both your cooking habits and kitchen design.
3. Understanding Ventilation Requirements
Thermador hoods require proper ducting and ventilation, which often includes:
- Selecting the correct duct size (typically 8-10 inches)
- Planning for duct runs that minimize turns and maximize efficiency
- Ensuring your home’s electrical system can handle the hood’s power needs
4. Professional Installation
Thermador hoods are precision-engineered, and professional installation ensures your investment functions as intended. Our team at Appliance Gallery Dayton will handle every detail, from mounting the hood securely to connecting the ductwork and testing performance.
5. Final Adjustments and Testing
Once installed, the hood’s fan speeds, lighting, and features will be tested. We’ll ensure the hood operates quietly and effectively removes smoke, grease, and odors—complementing your Thermador range and creating a cooking space you’ll love.
Maintaining Your Thermador Kitchen Hood
Thermador hoods are designed for long-lasting performance, but regular maintenance is key. Homeowners should:
- Clean or replace filters regularly (metal mesh or baffle filters are often dishwasher-safe)
- Wipe down the hood’s exterior to remove grease and dust buildup
- Schedule professional service as needed for thorough inspections and repairs
At Appliance Gallery Dayton, we pride ourselves on delivering expert guidance and seamless installation services for all Thermador appliances. Whether you’re upgrading your kitchen with a Thermador range or adding a matching kitchen hood, our team is here to help you every step of the way.